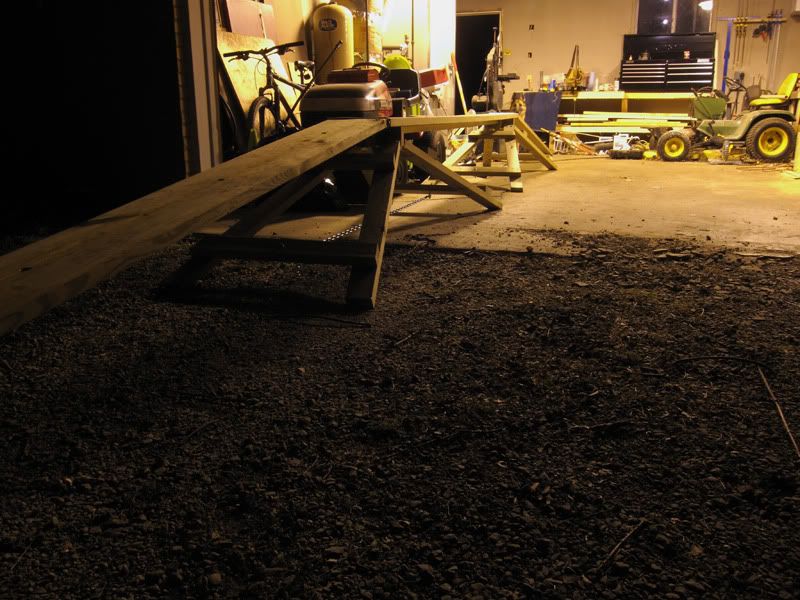
So today I decided to start a dog walk build. I'll use this thread to create a "how-to DIY dog walk." My main goal was to design a dog walk that anyone could build, meaning- no welding. Well, to be fair- you'll probably need to be a bit brave, and certainly will need your significant other to help with muscle power, but otherwise, you should be able to make this no problem. Anyway that meant I needed to find a material other than aluminum for the frame. After some thought, I settled on a standard 2x12 (12' long to meet regulations) for the planks. The problem is that a board this long is very flexible and once my 75 lb dog starts sprinting across it, it simple will be too wobbly. My solution is to use a piece of galvanized steel unistrut. This material can be found in the electrical aisle at your local home improvement store. So follow along if you like. This will be a multipart process...
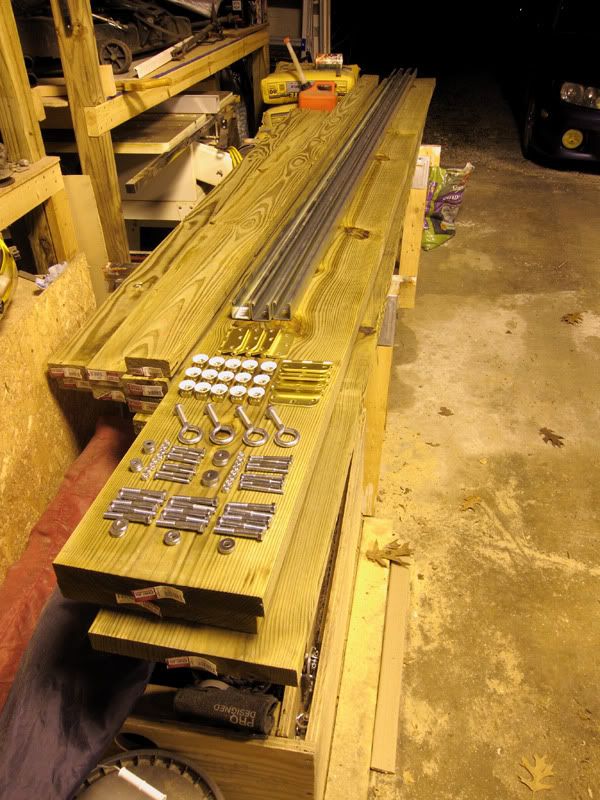
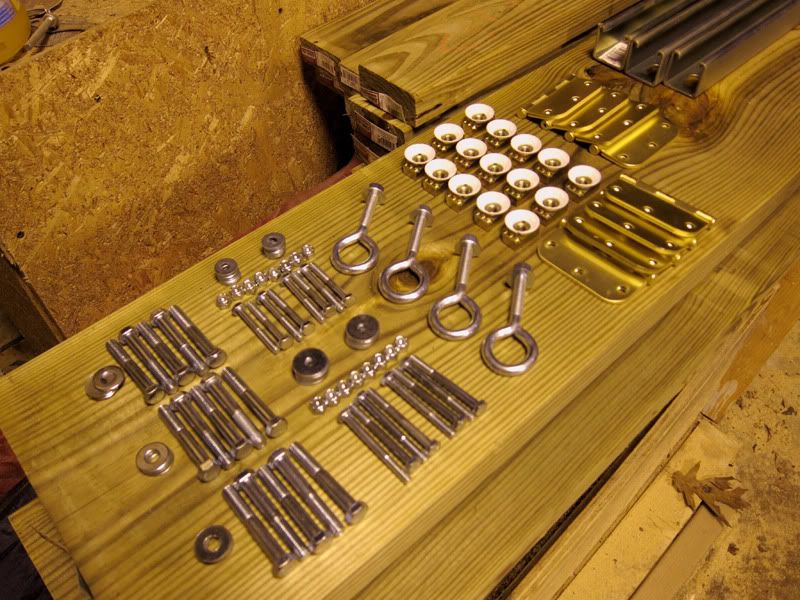
Material List:
![Image]()
![Image]()
Task #1 Plank Stabilization
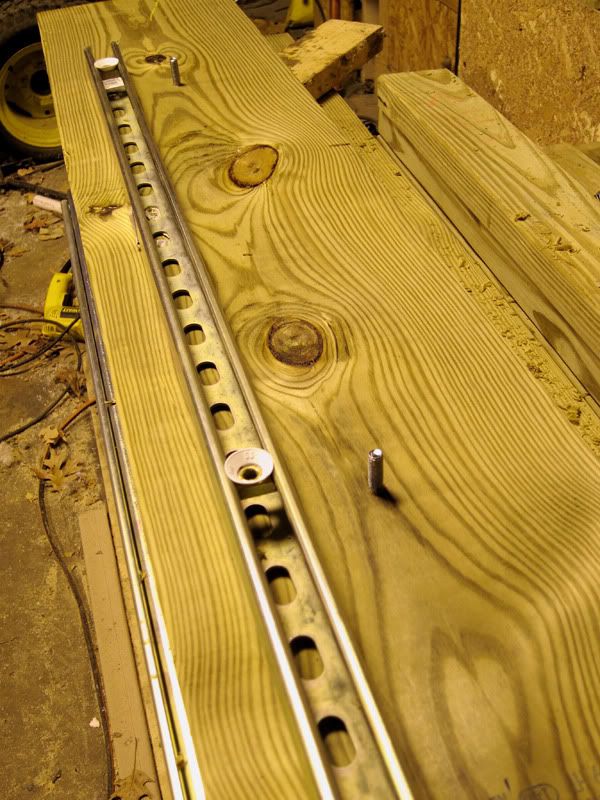
We need to stabilize the 2x12's so that they won't be so wobbly with our heavy GSD's sprinting across them. To do this, we can bolt a piece of Unistrut to the board.
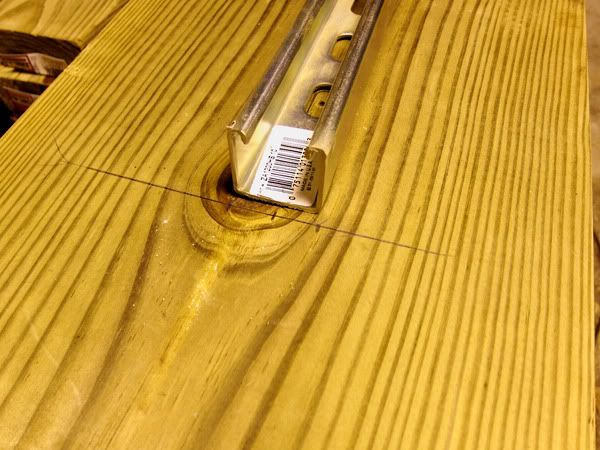
First, find the center of the 2x12 and the unistrut, and mark the 2x12. You since the wood plank is 12' long, and unistrut only comes in 10' lengths, you should measure in 1' from either side on the board. Then center the unistrut width-wise as well:
![Image]()
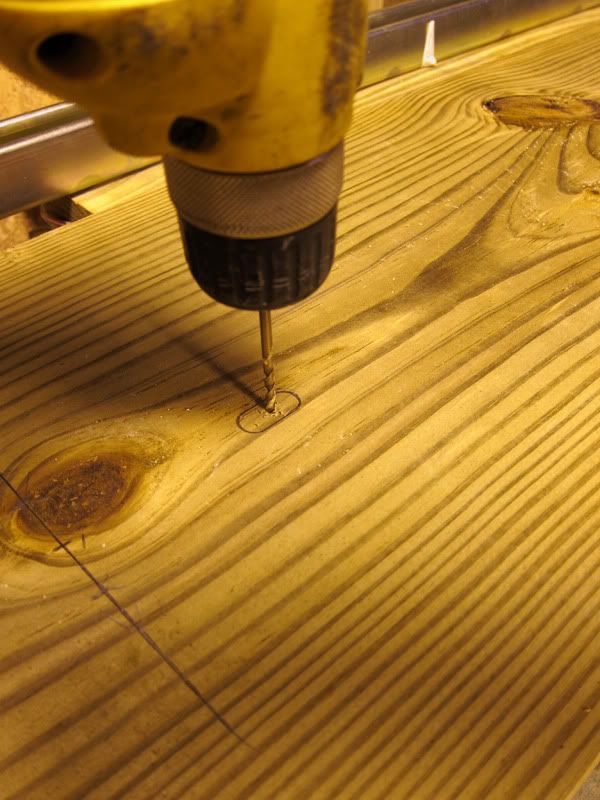
Then you want to mark five equidistant holes through the unistrut (so one at both ends, one 2'6" from either end, and one at 5'). Mark these holes with a pencil. Then you can drill a small pilot hole at the center of each mark:
![Image]()
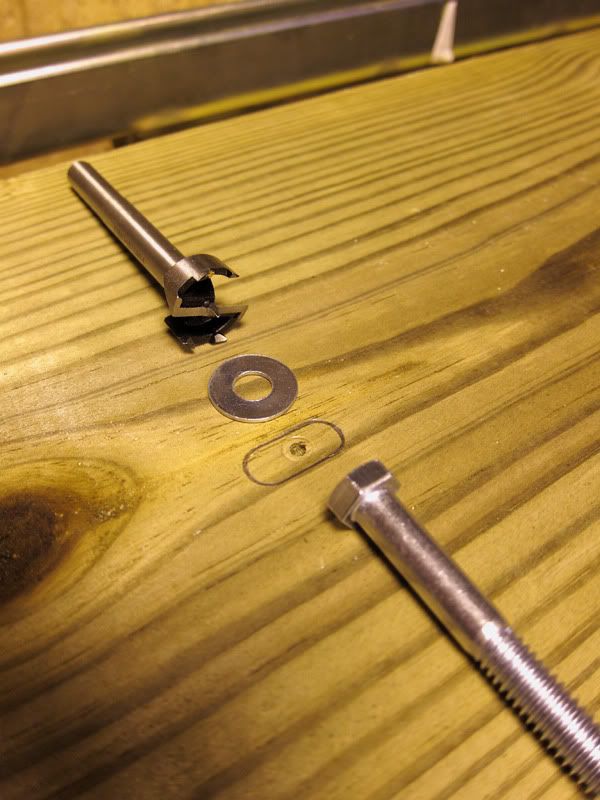
Next, you will need (hopefully) the only specialized tool you'll need for the build- a forstner drill bit. This is a special drill bit much like a hole saw, except that it drills a flat-bottomed hole. We are essentially using it to countersink a bolt head You should use a size equivalent to the size of the flat washer (which was 7/8" for me):
![Image]()
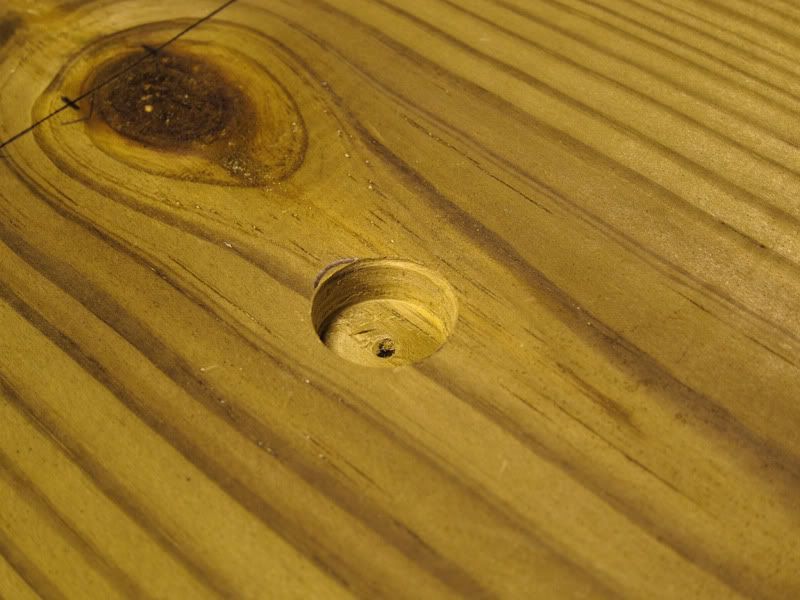
Once the hole is drilled, it will look like this. Note the flat bottom. This can only be accomplished with a forstner drill bit:
![Image]()
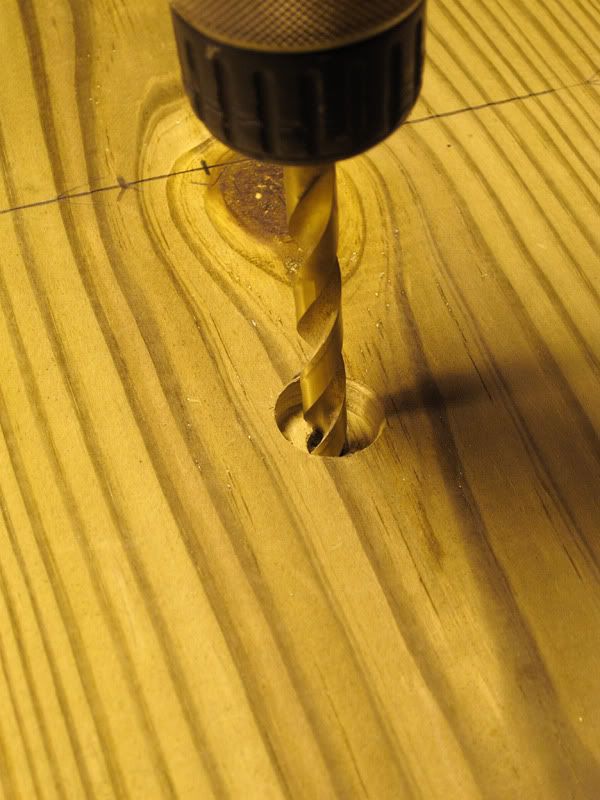
Now that the countersink is complete, you can complete the hole for the bolt- 3/8":
![Image]()
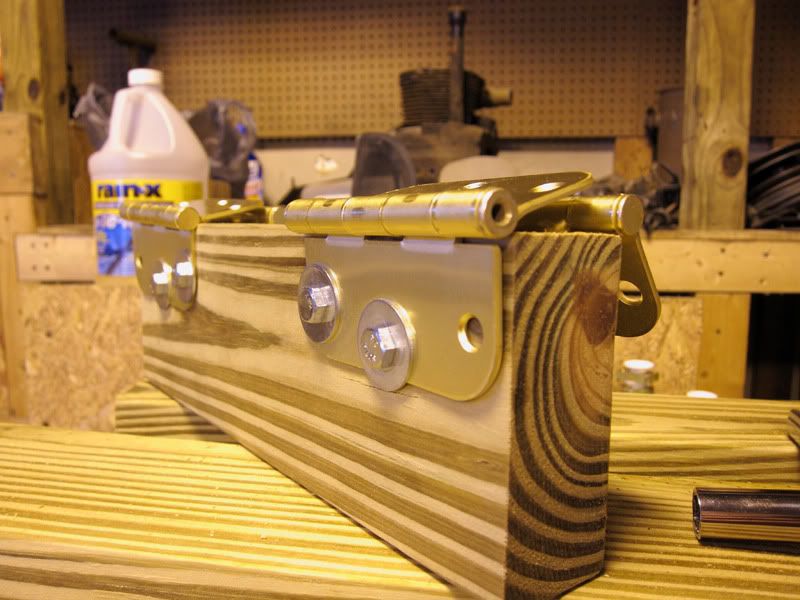
Next, put the flat washer on the 3/8" bolt:
![Image]()
And pound it through the hole:
![Image]()
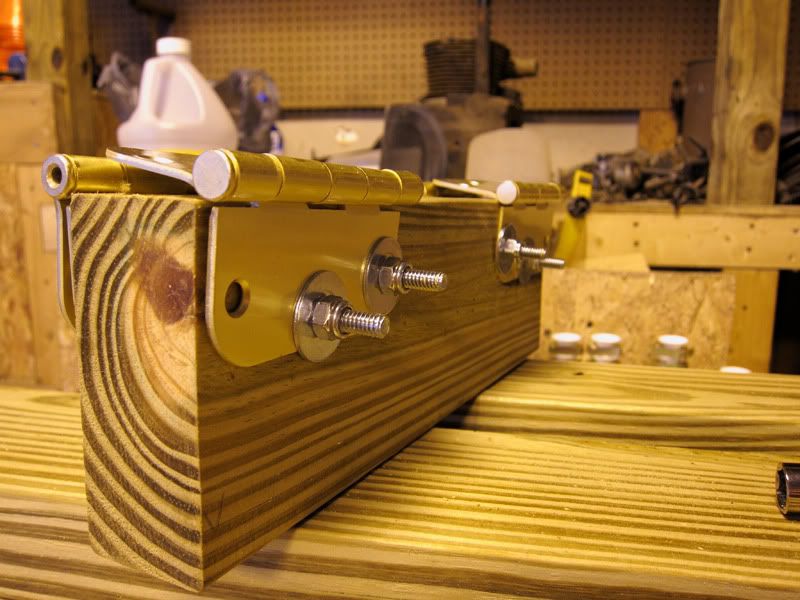
At this point, you can turn the board upside down and see the bolts sticking through:
![Image]()
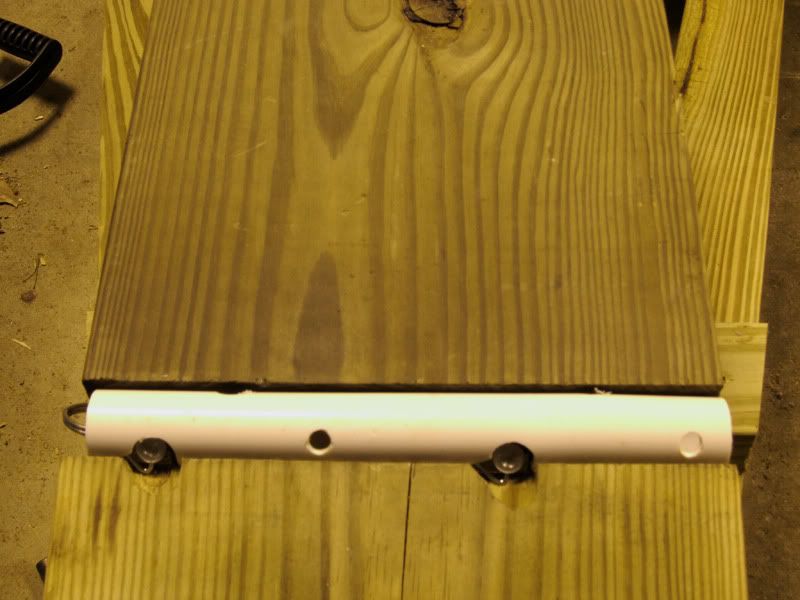
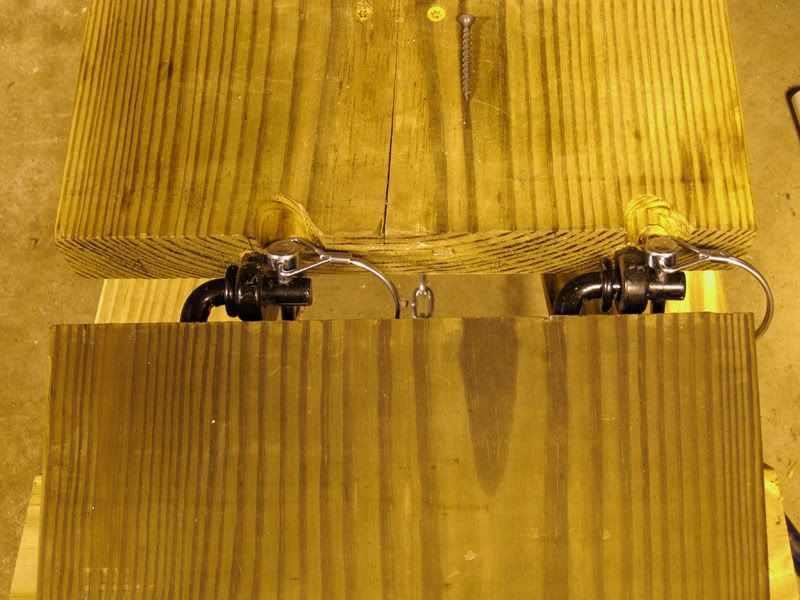
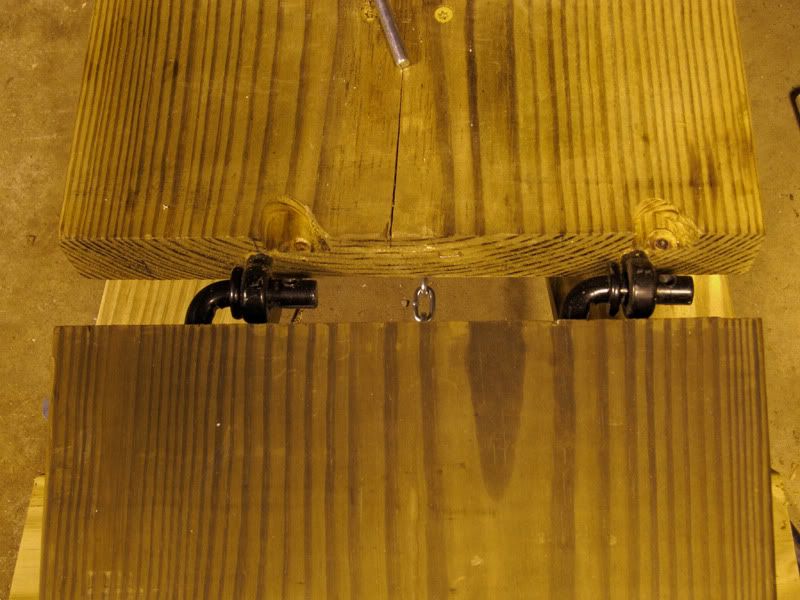
Finally, you just need to slide the cone nuts into the unistrut, flip it onto the bolts, and tighten it down. This is basically nothing different than a really heavy erector set:
![Image]()
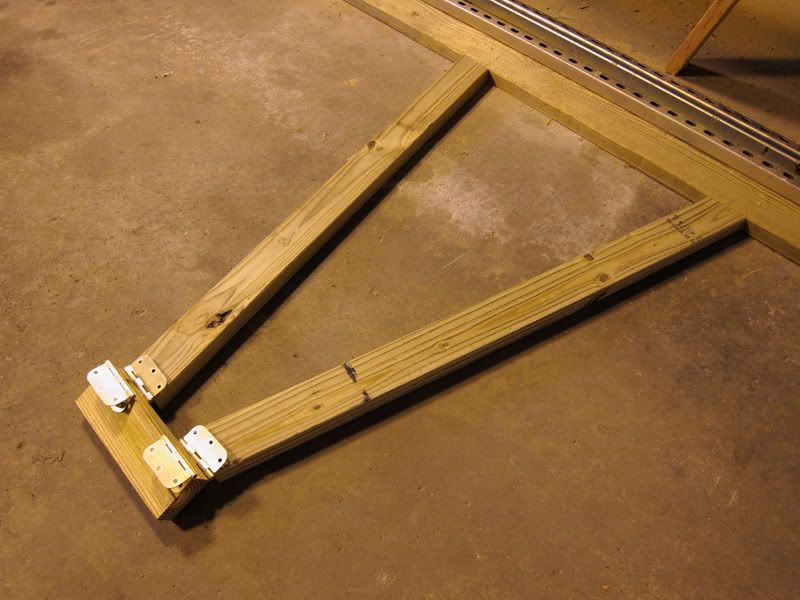
You will need to make three of these assemblies.
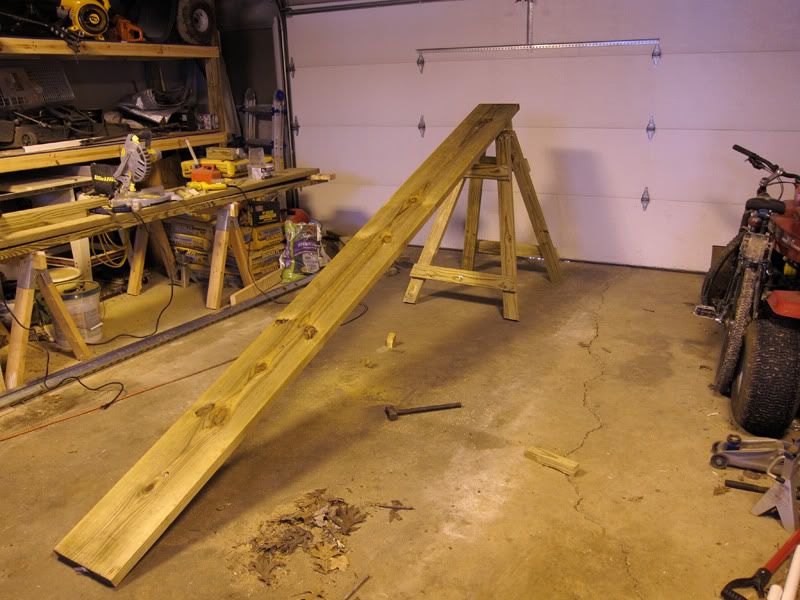
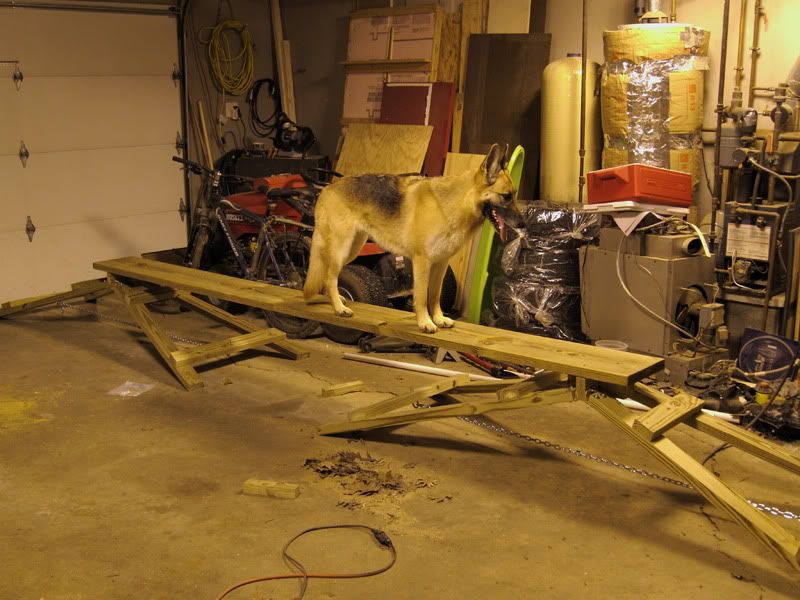
So how effective is this, you ask? Well- see for yourself:
You can see that the board by itself is very wobbly and wouldn't work well for a dog walk. But with the strut attached, it is very secure. Note that it does rock back and forth parallel to the board, but that is just the 2x4 blocks I have it sitting on. Also note that while it still deflects with me standing on it- it isn't wobbly our bouncy any longer. It's very, very strong and secure. Finally- when both Pimg and I are standing on it in the video- that's a whopping 355 lbs standing right in the middle of the board! It's VERY strong! (And also very heavy, as you can see.)
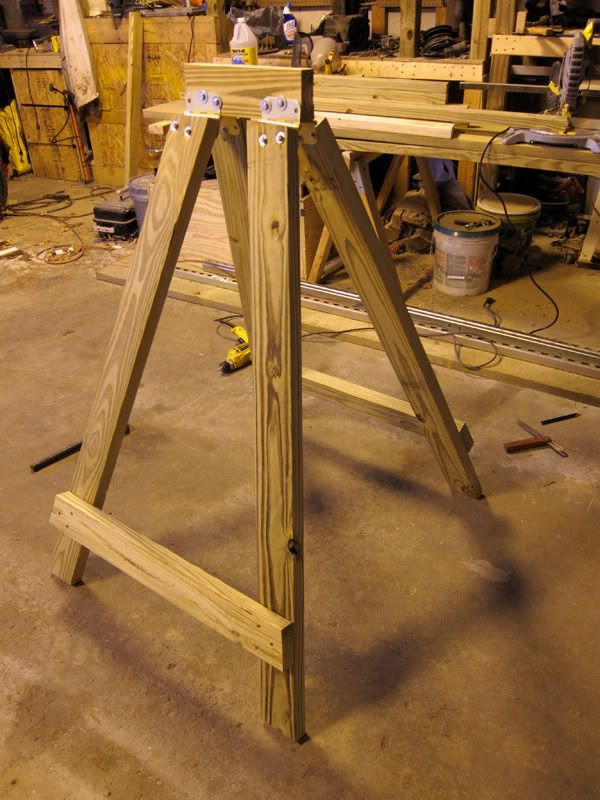
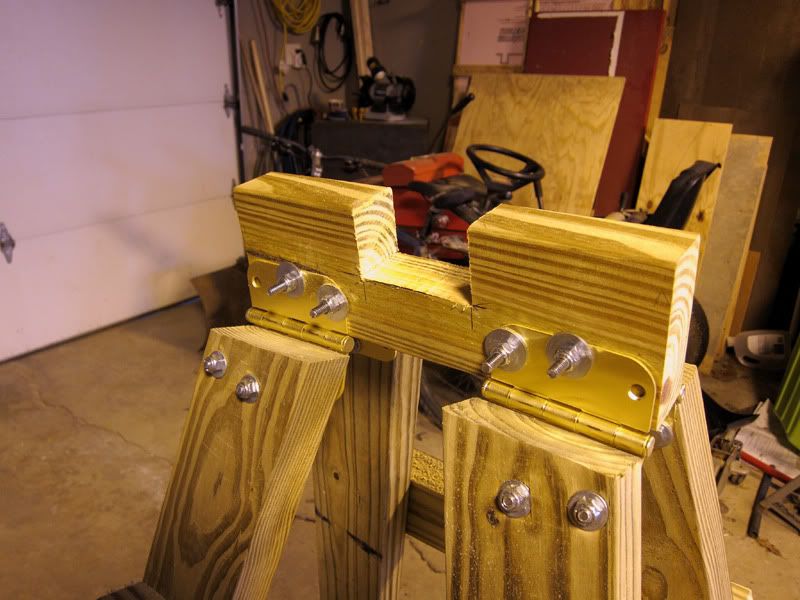
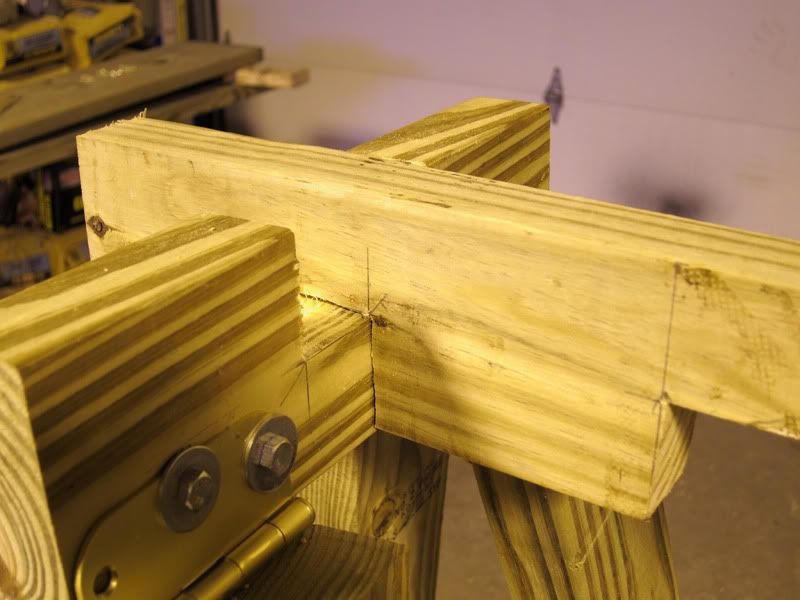
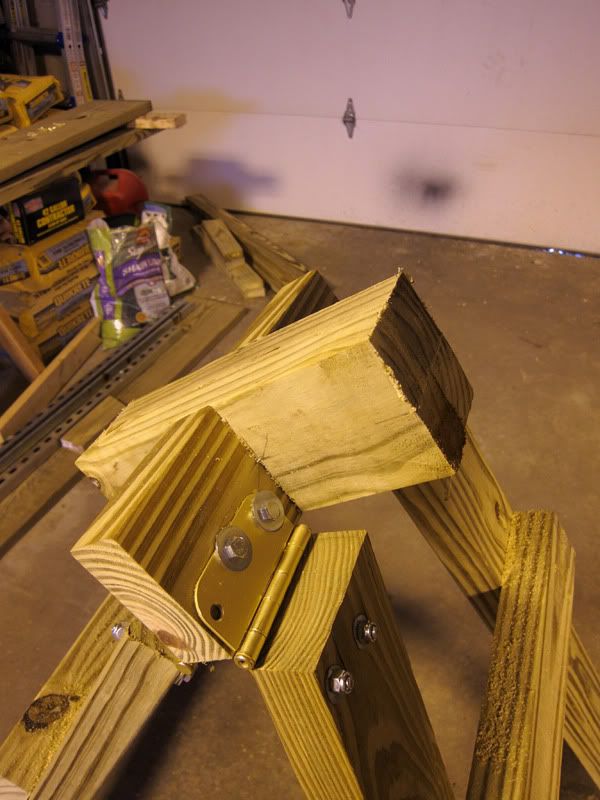
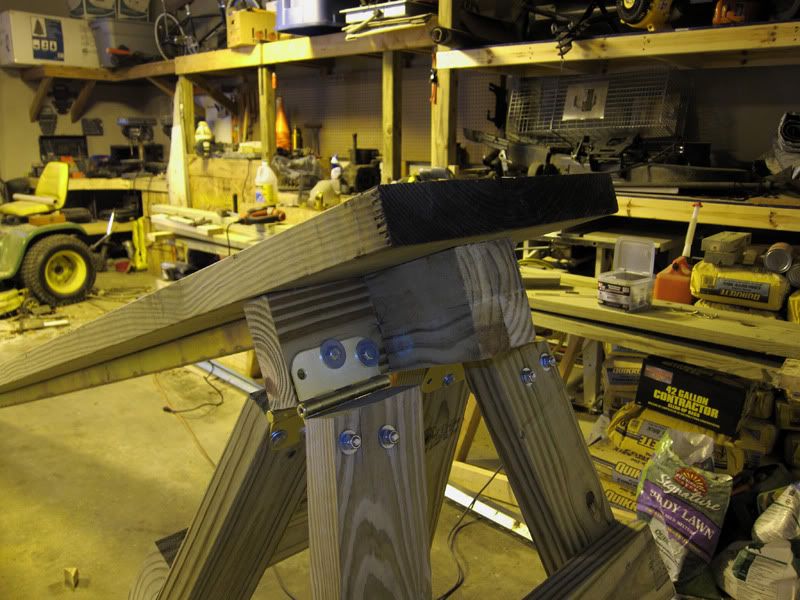
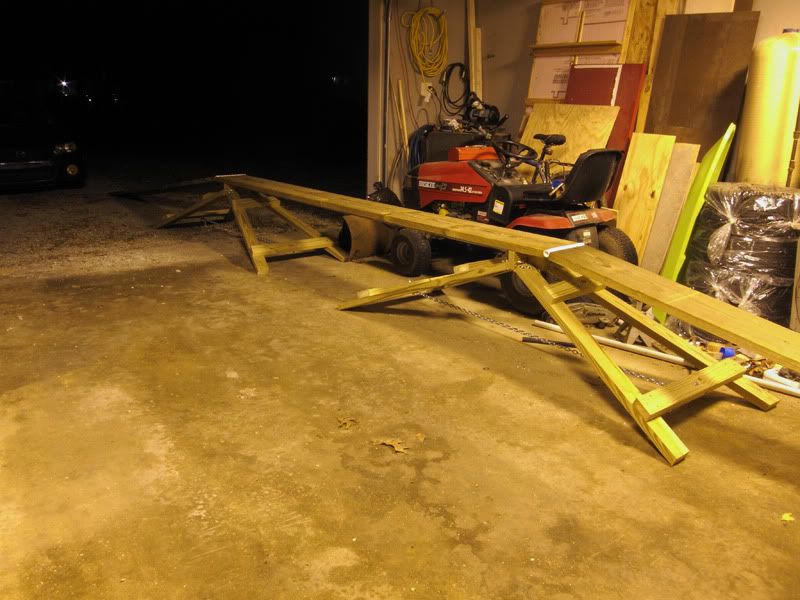
Tomorrow I will build the legs.
Material List:
- 3- 2x12x12' pressure treated lumber
- 4- 2x4x10' pressure treated lumber
- 4- 2x4x8' pressure treated material
- 3 - 12 guage 10' Unistrut
- 15 - 3/8" Unistrut cone nuts
- 15 - 3/8" x 2 1/2" bolts
- 15 - 38" flat washers
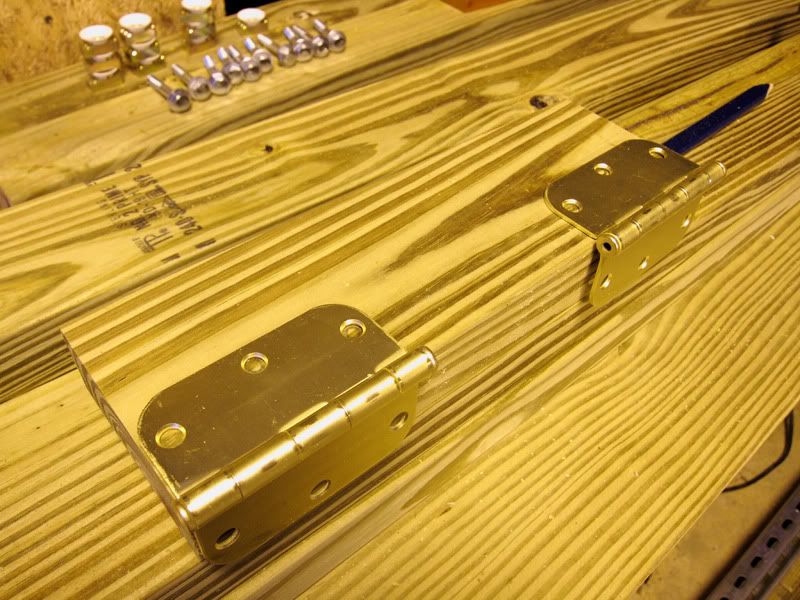
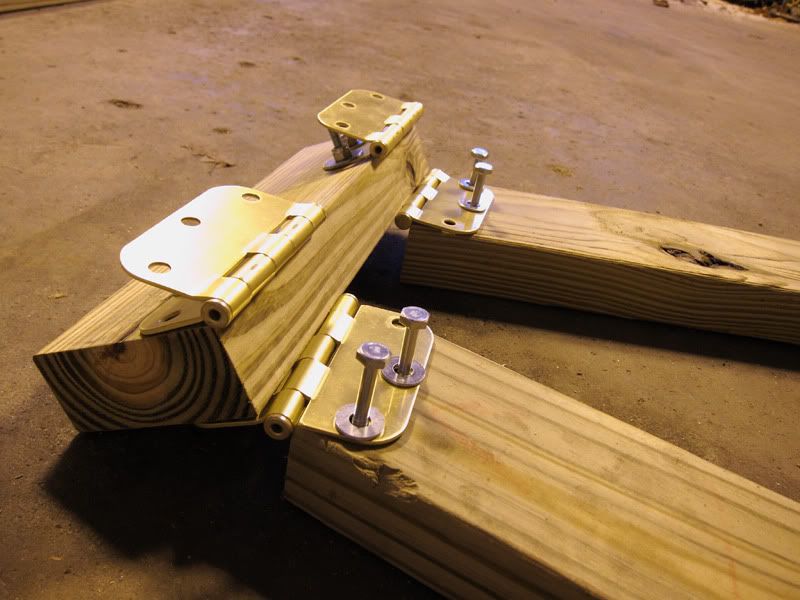
- 8 - 3 1/2" brass hinges
- 8 - 1/4" x 2" bolts
- 8 - 1/4" x 2 1/2" bolts
- 16 - 1/4" lock nuts
- 16 - 1/4" flat washers
- 16 - 1/4" fender washers
- 4 - 3/8" o-rings
Task #1 Plank Stabilization
We need to stabilize the 2x12's so that they won't be so wobbly with our heavy GSD's sprinting across them. To do this, we can bolt a piece of Unistrut to the board.
First, find the center of the 2x12 and the unistrut, and mark the 2x12. You since the wood plank is 12' long, and unistrut only comes in 10' lengths, you should measure in 1' from either side on the board. Then center the unistrut width-wise as well:
Then you want to mark five equidistant holes through the unistrut (so one at both ends, one 2'6" from either end, and one at 5'). Mark these holes with a pencil. Then you can drill a small pilot hole at the center of each mark:
Next, you will need (hopefully) the only specialized tool you'll need for the build- a forstner drill bit. This is a special drill bit much like a hole saw, except that it drills a flat-bottomed hole. We are essentially using it to countersink a bolt head You should use a size equivalent to the size of the flat washer (which was 7/8" for me):
Once the hole is drilled, it will look like this. Note the flat bottom. This can only be accomplished with a forstner drill bit:
Now that the countersink is complete, you can complete the hole for the bolt- 3/8":
Next, put the flat washer on the 3/8" bolt:

And pound it through the hole:
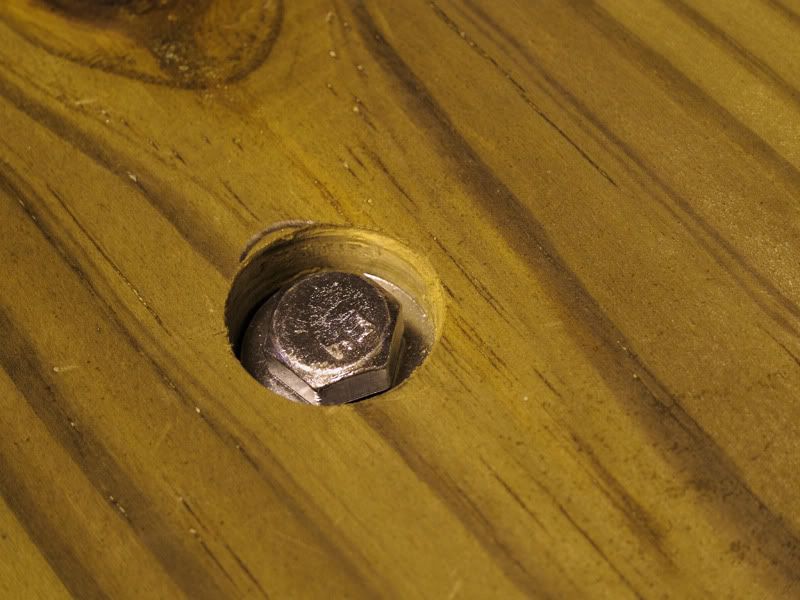
At this point, you can turn the board upside down and see the bolts sticking through:

Finally, you just need to slide the cone nuts into the unistrut, flip it onto the bolts, and tighten it down. This is basically nothing different than a really heavy erector set:
You will need to make three of these assemblies.
So how effective is this, you ask? Well- see for yourself:
You can see that the board by itself is very wobbly and wouldn't work well for a dog walk. But with the strut attached, it is very secure. Note that it does rock back and forth parallel to the board, but that is just the 2x4 blocks I have it sitting on. Also note that while it still deflects with me standing on it- it isn't wobbly our bouncy any longer. It's very, very strong and secure. Finally- when both Pimg and I are standing on it in the video- that's a whopping 355 lbs standing right in the middle of the board! It's VERY strong! (And also very heavy, as you can see.)
Tomorrow I will build the legs.

")